The embryo transfer timeline marks the final step before a potential pregnancy. The timeline depends on many factors. This includes uterine preparation, embryo quality, and implantation timing. Understanding this timeline helps intended parents feel more in control and prepared for what’s ahead.
Key Takeaways
- The embryo transfer timeline varies based on factors like uterine preparation, embryo quality, and implantation timing.
- Fresh embryo transfers occur shortly after egg retrieval, while frozen transfers allow more preparation and flexibility.
- Frozen embryo transfer involves hormonal support, uterine preparation, and monitoring for optimal implantation conditions.
- The uterine lining is thickened using estrogen and progesterone to improve embryo acceptance.
- Embryos are thawed on the transfer day, and the process is quick and generally painless.
- Transfers can occur on day 3 or day 5, depending on embryo development and individual circumstances.
- Rest and light activity are recommended during the two-week wait, avoiding early home pregnancy tests.
Fresh vs. Frozen Embryo Transfer: How the Timelines Differ
The timeline of frozen embryo transfer differs from a fresh embryo transfer because of how and when the embryo is placed in the uterus. In a fresh cycle, embryos are transferred right after egg retrieval. A frozen cycle offers more preparation and flexibility.
Here’s how they compare:
Fresh Embryo Transfer
After the IVF cycle, embryos are cultured in the lab for 3 to 5 days before being transferred into the uterus. The transfer must align with the body’s natural menstrual cycle, meaning hormone levels must be optimal at the right time. This process comes right after ovarian stimulation. Some patients may have hormone imbalances. These imbalances can affect how well implantation works.
Frozen Embryo Transfer (FET)
In contrast, a frozen embryo transfer timeline allows embryos to be stored for future use. Before transfer, the uterus is prepared. This can be done with a natural cycle or hormone therapy. This helps make sure the embryo is placed in the uterus when it is most receptive. This method often results in a more stable uterine environment, improving the chances of a successful pregnancy.
How to Prepare for a Frozen Embryo Transfer
Preparation for a frozen embryo transfer (FET) focuses on optimizing the body for a successful implantation. The process differs for each treatment plan. It usually includes hormonal support, monitoring, and changes to lifestyle.
Besides medical preparation, maintaining a healthy lifestyle can support the process. For the best chances of implantation, focus on a balanced diet. Drink plenty of water, manage stress levels, and avoid heavy exercise.
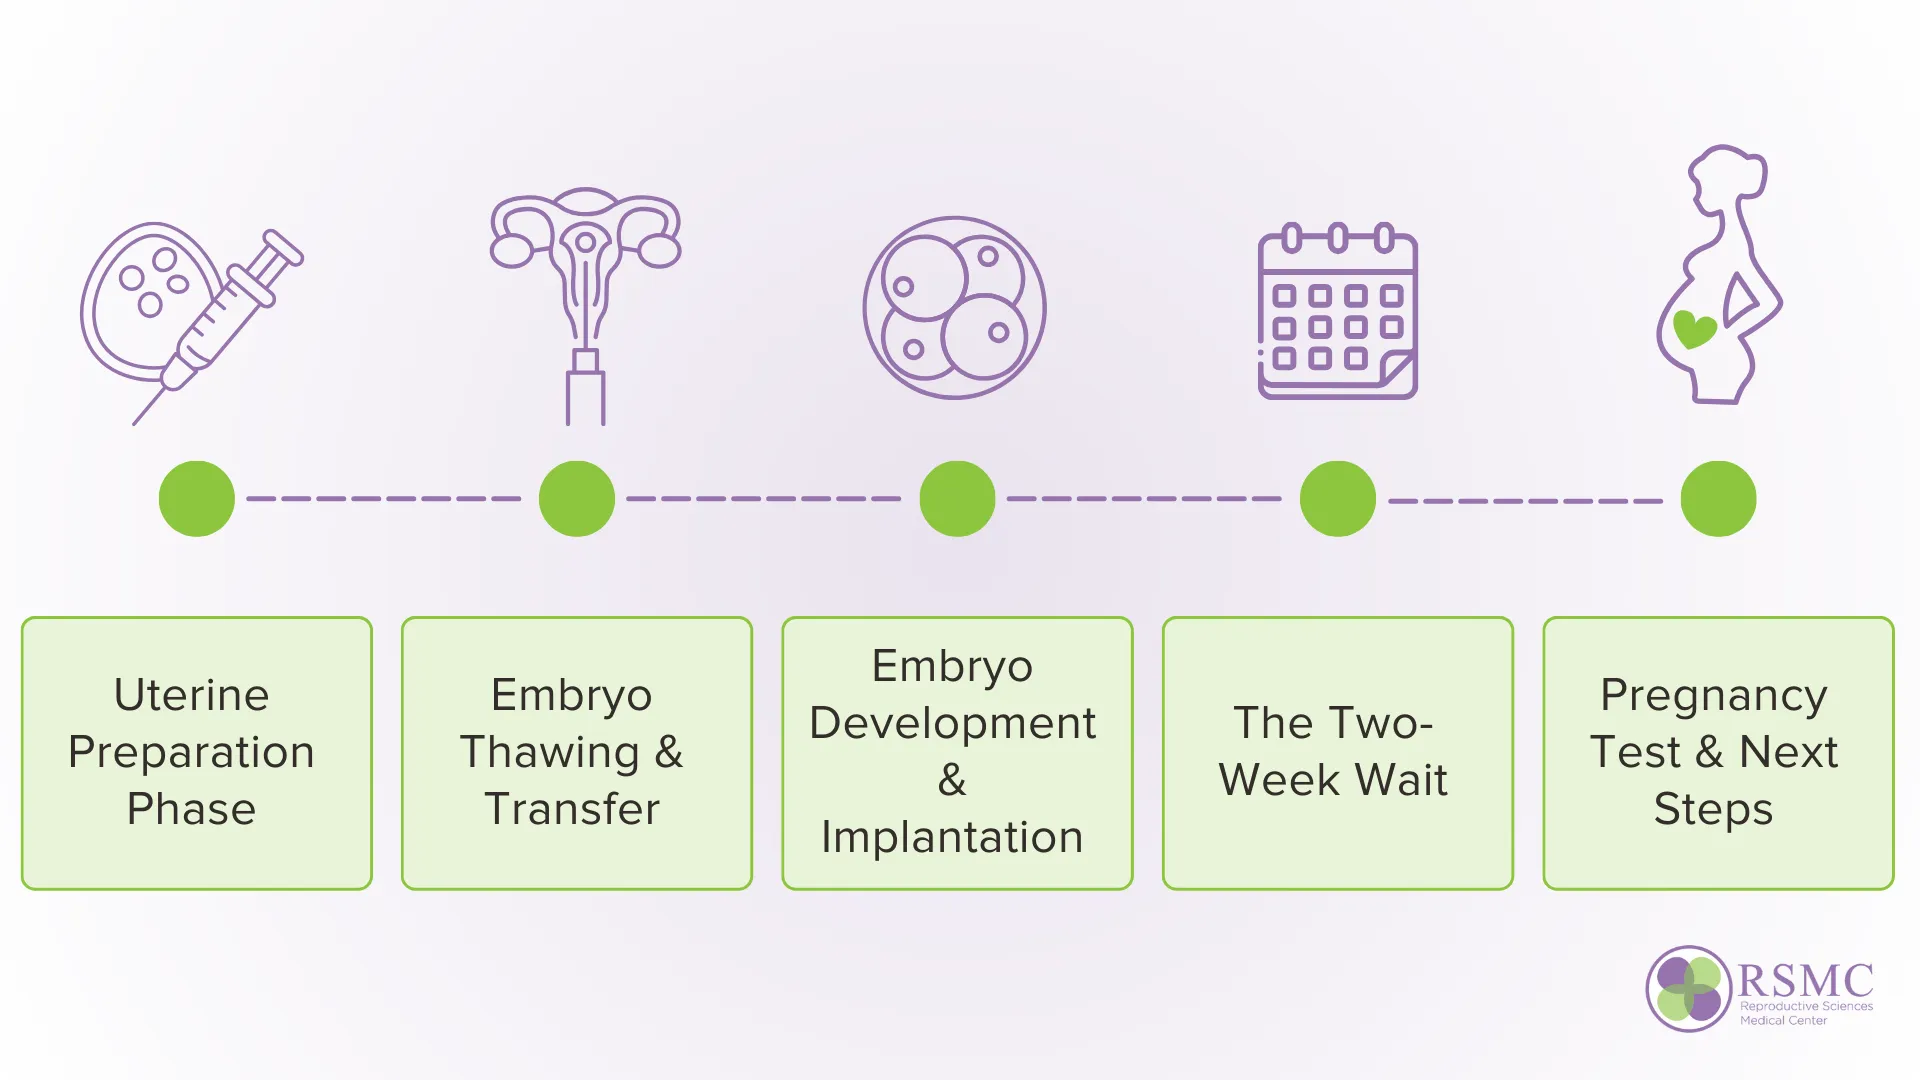
Uterine Preparation Phase
The uterine preparation phase is vital in the frozen embryo transfer process. It makes sure the uterus is ready for implantation. The goal is to create the most receptive environment for the embryo to implant into the uterine lining. This directly impacts the chances of a successful pregnancy.
Hormonal Support for the Uterus
Doctors prescribe estrogen therapy to thicken the uterine lining, mimicking what happens in a natural cycle. This phase lasts about two weeks, during which estrogen levels are monitored through blood tests. Progesterone supplements begin once the lining reaches the optimal thickness—typically 7-10mm. Progesterone helps the uterus accept an embryo. It is taken for several days before the transfer.
Ultrasound and Hormone Monitoring
Regular ultrasounds and blood tests track progress. The human chorionic gonadotropin (hCG) hormone can also be measured. It helps control progesterone production. If the lining is too thin or hormone levels aren’t optimal, adjustments are made before proceeding to the next step.
Final Preparation Before Transfer
Once the uterus is ready, doctors schedule the embryo transfer process. At this stage, the embryo is nearly ready for transfer, marking a key milestone in the FET timeline.
Embryo Thawing and Transfer
The embryo thawing and transfer mark the moment the embryo is placed into the uterus for potential implantation. This process is quick and easy. It usually takes 30 minutes or less. However, it needs careful preparation to ensure success.
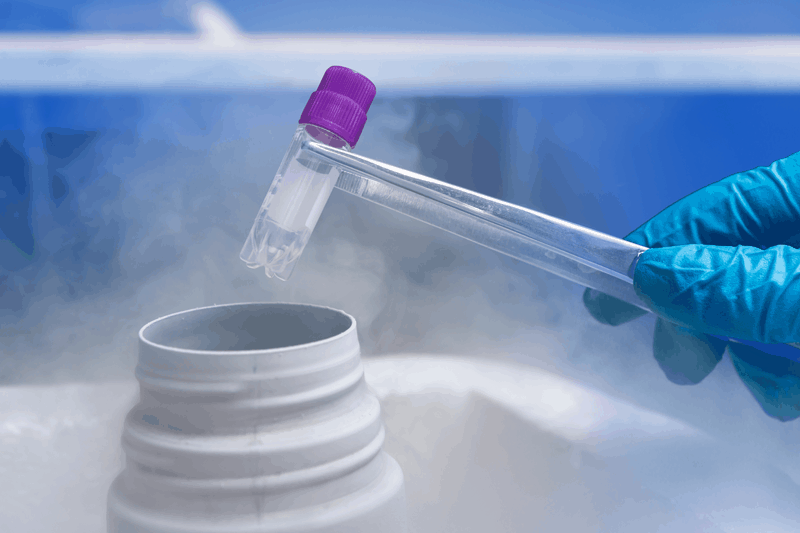
Embryo Thawing Process
Before transfer, the frozen embryo is thawed in a specialized laboratory. Embryologists check its quality for any signs of damage and ensure it has survived the freezing and thawing process. New freezing methods like vitrification help embryos survive better and stay viable.
Most embryos are thawed on the same day as the transfer. If an embryo does not survive, another one may be thawed if available. Doctors choose the best embryo to increase the chances of implantation and a successful pregnancy.
The Embryo Transfer Procedure
Once the embryo is ready, the embryo transfer process begins. The patient lies on an exam table, like a routine gynecological exam. A thin catheter holds the embryo. It is inserted through the cervix and into the uterus. An ultrasound guides its placement for accuracy.
- No anesthesia is required, as the procedure is painless for most patients.
- Ultrasound guidance ensures the embryo is placed at the ideal depth in the uterine lining.
- Minimal discomfort may be felt, like a Pap smear.
After the transfer, patients rest briefly before being discharged. Some clinics recommend lying down for 10-15 minutes, but studies suggest this does not impact implantation rates.
Embryo Transfer on Day 3 or Day 5?
The embryo transfer process typically takes place on either day 3 or day 5 after fertilization, depending on embryo development and implantation potential. A day 3 transfer involves placing a cleavage-stage embryo into the uterus, while a day 5 transfer uses a blastocyst, which has had more time to develop. Fertility specialists choose the transfer day based on embryo quality, patient history, and uterine readiness.
A doctor might suggest a day 3 transfer when there are fewer embryos. This lets them grow in the natural uterine environment earlier. But, a blastocyst transfer is preferred in most cases, as blastocysts are more likely to implant. Extra lab time lets embryologists choose the strongest embryos. This improves the chances of a successful pregnancy. The choice ultimately depends on each person’s situation. Doctors want to find the best timing for successful implantation.
The Two-Week Wait

The two-week wait is the period between the embryo transfer process and the pregnancy test, typically lasting 14 days. This phase can be emotionally challenging, as intended parents eagerly anticipate the outcome. While the embryo is implanting and developing, the body may not show early pregnancy symptoms. This makes it difficult to predict success.
Some people might feel mild cramping, bloating, fatigue, or spotting during this time. These can be signs that the embryo embeds deeper into the uterine lining. But, the absence of symptoms does not mean implantation hasn’t occurred. To avoid unnecessary stress, doctors advise against early home pregnancy tests. They can give misleading results due to residual hormones from the IVF process.
To support implantation, patients are encouraged to rest but maintain light activities. The key is patience—once the 2 week wait is over, a blood test will confirm whether the transfer was successful.
Common Questions About the Embryo Transfer Timeline
The timeline for frozen embryo transfer involves many stages, each essential to the procedure’s success. Intended parents often have questions about what to expect before, during, and after the transfer. Below are some common concerns that can help clarify the process.
- How do you determine the best day for my embryo transfer?
- What can I do to improve my chances of a successful embryo transfer?
- How thick should my uterine lining be before transfer?
- Will I need progesterone support, and for how long?
- How many embryos should we transfer to increase success without risking multiples?
- What are the risks of implantation failure, and what can we do to prevent it?
- How soon after transfer can I resume normal activities, including exercise and work?
- Should I follow a specific diet or lifestyle during the two-week wait?
- What symptoms should I expect after the transfer, and when should I contact you?
- When can I take a pregnancy test, and should I rely on home tests or wait for a blood test?
- If this transfer doesn’t work, what are the next steps?
Final Thoughts
The embryo transfer timeline is a planned process, with each stage playing a role in the chances of a successful pregnancy. Knowing what happens from uterine preparation to the two-week wait can help intended parents feel ready and confident. Waiting for results can be challenging. But following your doctor’s advice, keeping a healthy routine, and staying patient are essential. No matter the outcome, your medical team will guide you through the following steps on your journey to parenthood.